React native Side Drawer
First of all we need to create our react native application with node js. following commant will do the process.
we need to install globally react native. Its good you have react basic knowledge. I will prefer you to follow udemy
npm install -g create-react-native-app
Then run the following commands to create a new React Native project called “MyDrawer”:
create-react-native-app MyDrawer

cd MyDrawer
npm start
Install the Expo client app on your iOS or Android phone and connect to the same wireless network as your computer. On Android, use the Expo app to scan the QR code from your terminal to open your project. On iOS, follow on-screen instructions to get a link.
Now that you have successfully run the app, let’s modify it. Open App.js in your text editor of choice and edit some lines. The application should reload automatically once you save your change.
to create our drawer we need some dependencies
Install the react-navigation package in your React Native project.
yarn add react-navigation
# or with npm
# npm install --save react-navigation
this will affected to our package.json file
{
"name": "MyDrawer",
"version": "0.1.0",
"private": true,
"devDependencies": {
"react-native-scripts": "1.11.1",
"jest-expo": "25.0.0",
"react-test-renderer": "16.2.0"
},
"main": "./node_modules/react-native-scripts/build/bin/crna-entry.js",
"scripts": {
"start": "react-native-scripts start",
"eject": "react-native-scripts eject",
"android": "react-native-scripts android",
"ios": "react-native-scripts ios",
"test": "node node_modules/jest/bin/jest.js"
},
"jest": {
"preset": "jest-expo"
},
"dependencies": {
"expo": "^25.0.0",
"react": "16.2.0",
"react-native": "0.52.0",
"react-navigation": "^1.1.2"
}
}
Now we need to edit our App.js file. import react navigation component create our main pages to navigate, and create NavigationDrawer object;
import React from 'react';
import { View, Text,Button, Platform,ScrollView,StyleSheet } from 'react-native';
import { DrawerNavigator } from 'react-navigation';

import Home from './src/pages/Home';
import Screenone from './src/pages/Screenone';
import Screentwo from './src/pages/Screentwo';

const DrawerExample = DrawerNavigator({
Home: {
path:'/home',
screen:Home
},
First:{
path:'/',
screen: Screenone
},
Second: {
path:'/second',
screen: Screentwo
}
},{
initialRouteName: 'First',
drawerPosition:'left'
}
);
then we need to create our pages as we mention in App.js page

now we have to create pages.first i show you home page. in this case i’m using material icons component.
import React from 'react';
import { StyleSheet, Text, View,Image } from 'react-native';
import MaterialIcons from 'react-native-vector-icons/MaterialIcons';

export default class App extends React.Component {
static navigationOptions = {
tabBarLabel: 'Screen one',
drawerIcon: ({ tintColor}) => {
return (
<MaterialIcons
name="account-balance"
size={24}
style={{ color: tintColor }}
>
</MaterialIcons>
);
}
}
render() {
return (
<View style={styles.container}>
<Image style={styles.mycamera} source={require('../images/camera.png')} />
<Text style={styles.company}>React Native</Text>
<Text style={styles.mytittle}>My Drawer</Text>
</View>
);
}
}
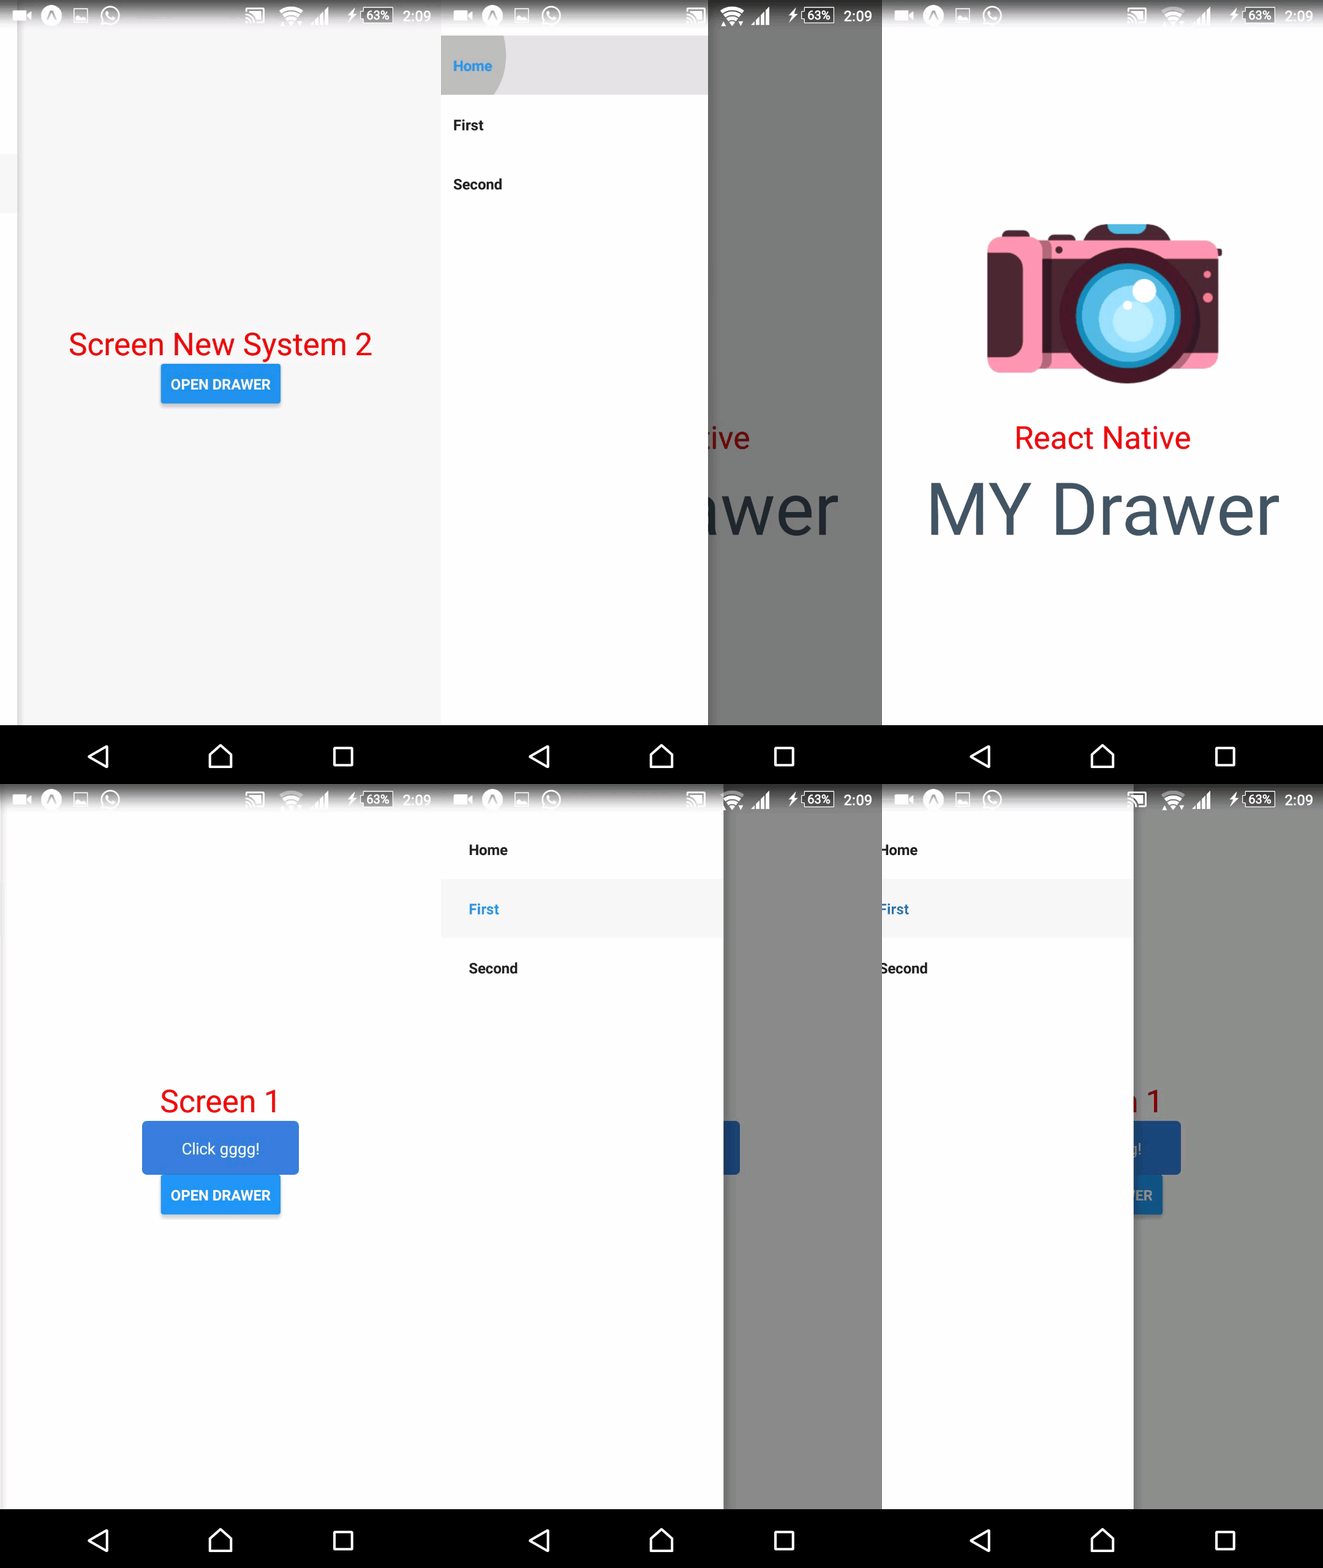
this is my project example here
